Welcome to IWAG! We’re excited to share some insight and tips for your trip to Indonesia. This guide is crafted from a variety of sources which include official government websites, travel blogs, and input from our own team, various locals, and other international friends who have travelled the area.
Our aim is to provide a clear and thorough guide for our foreigner furs to visit IWAG and get around Jakarta. Please note that while we strive for accuracy, obtaining precise information from Indonesian government sources can be challenging. Conditions may also change after you pass through immigration. We’ve put together this guide based on our best understanding of local regulations and navigation tips specific to Jakarta, our convention’s home city. However, there might be aspects we’re unfamiliar with as locals. We encourage you to do additional research beyond this guide.
Should you have any suggestions, tips, or corrections for this guide, feel free to reach out to us at [email protected].
P.S.: Do you just need to find places to shop or eat? You can see our directories for nearby places at the Venue page.
Visa Requirements for Indonesia
Traveling to Indonesia is generally straightforward. Holders of passports of ASEAN member states do not require visas, while most other countries are eligible to apply for visitor visas which can be applied online or on arrival.
When applying for any visa, or when using the visa-on-arrival facility, remember to have your departure from Indonesia arranged and ensure you have sufficient funds for your stay.
Visa Waived Countries
If you hold a regular passport from the following states, you do not need to apply in advance for a visa or apply for a visa on arrival. You can stay in Indonesia for business or tourism reasons for up to 30 days without any extra visas.
- Brunei
- Cambodia
- Laos
- Malaysia
- Myanmar
- Philippines
- Singapore
- Thailand
- Vietnam
- Timor-Leste
- Brazil
- Turkey
- Peru
ASEAN member state passport holders can proceed directly to the foreigner queue at immigration to get your documents checked. On several conditions, you may also be routed to the automatic immigration clearance without having to pre-register.
Visa on Arrival (VOA) and Electronic Visa on Arrival (e-VOA)
Nationals holding eligible passports have two options for obtaining their Visa on Arrival:
-
Electronic Visa on Arrival (e-VOA)
Access the official eVisa portal through the Indonesian Directorate General of Immigration website.
-
Visa on Arrival (VOA)
Obtain your visa directly at your point of entry, available at all major airports and seaports in Indonesia. For more details check the Ministry of Foreign Affairs website.
Both the online e-VOA and the VOA obtained at entry points cost IDR 500.000 per person. e-Visas are valid 90 days after it is issued. It allows a single entry into the country with stays up to 30 days. Payment can be made with major credit and debit cards. If you choose to pay in cash at the port of entry, it is advisable to use Indonesian rupiah rather than foreign currency.
If you have received an e-VOA through the online method, you can skip the VOA queue upon arrival at an Indonesian entry port. Holders of an e-VOA in possession of a biometric passport (ePassport) can also use the automated immigration clearance gates (auto-gates) at Jakarta Soekarno-Hatta International Airport and Bali Ngurah Rai International Airport.
For the list of countries whose passport holders are eligible for both e-VOA and VOA you can check the Ministry of Immigration and Corrections website.
Other Countries
If you are traveling from any country outside of this list, please check with your local Indonesian embassy or consulate for requirements to apply for a tourist visa.
Transferring from an International to Domestic Flight
If you will be arriving in Indonesia through any other airport of entry than Jakarta (e.g. Bali Ngurah Rai Airport), you will be required to pick up your bags from the conveyor belt, clear through customs in Bali, make your way to the domestic terminal or check-in areas, then re-check in your bags for your onward flight to Jakarta. You will be required to do this even if your connecting flight is on the same ticket/itinerary. Please double-check the luggage allowance for your flight or any applicable fare rules to ensure you are not caught off-guard with extra luggage fees.
Visa Extensions
Should you wish to extend your stay in Indonesia, this is possible on a tourist visit visa by visiting a nearby Immigration Office. Extensions cost IDR 500.000 which extends your stay by 30 days.
Customs in Indonesia
Navigating Indonesian Customs can be challenging for both tourists and locals. Here are some key points to keep in mind as a visitor:
Maximum Limit of Goods
Each visitor is allowed a duty-free allowance for goods bought overseas and brought into Indonesia:
- 200 cigarettes, OR 25 cigars, OR 100 grams of sliced tobacco or other tobacco products.
- 1 liter of alcoholic beverages.
Exceeding these limits may result in the confiscation and destruction of the excess items at the entry port.
Mobile Phones
Tourists staying in Indonesia for less than 90 days do not need to register their mobile devices. You can use your roaming services, or local SIMs and e-SIMs without needing to register your IMEI number upon arrival.
Food Items
Generally, you do not need to declare processed, packaged, and labeled food items. However, fresh produce and raw meats must be declared.
Forbidden Goods and Must Declare Items
Certain items are either banned or must be declared upon entry to Indonesia. Bringing these items without declaration can lead to severe penalties including fines, deportation, or imprisonment:
- Narcotics, psychotropic substances, and their precursors. Possession of these is punishable by death in Indonesia. Do not even think of bringing them.
- Medications containing psychotropic substances must be in original packaging with a doctor’s prescription and a medical note explaining their necessity. Declare these at customs.
- If there are possible alternatives, consider asking for a temporary prescription with other products.
- Firearms, air guns, ammunition, and explosives are strictly prohibited without declaration.
- Specialty knives and other sharp objects must also be declared.
Filling the Customs Declaration
Indonesia now uses the All Indonesia unified arrival card at all international entry points. It replaces the older e-CD system and combines immigration, customs, and health declarations in one submission.
Complete the form within three days prior to your arrival at allindonesia.imigrasi.go.id. You must fill it in even if you have nothing to declare.
Select your preferred language, then fill in your personal details, flight information, and your address in Indonesia. On the customs declaration step, select “No” if you have nothing to declare. Mobile phones and other cellular devices do not need to be declared as mentioned earlier.
After submitting, you’ll receive a QR code. Save this on your phone for scanning at customs after you collect your baggage and as you exit the secured area.
Baggage Handling
Baggage handling at Jakarta Soekarno-Hatta International Airport can be rough. To protect your luggage, consider using a protective sleeve like or a luggage wrapping service available at most airports. For fragile or sensitive items, additional padding with bubble wrap or soft materials like clothing is advisable. If traveling with a fursuit, ensure that it is adequately protected with impact-absorbing materials and that any openings or cavities are filled to prevent damage.
The Baggage Claim section on Terminal 3 of Soekarno-Hatta airport. Photo by: Newton
Getting In and Out of Jakarta’s Main Airport
Public Transport From Soekarno-Hatta Airport
The airport is connected to the city center by an airport railway, which takes about an hour to reach the city. Fares are IDR 70.000 for Executive class or IDR 30.000 for Premium class. For more details on the airport train, please refer to our Public Transit Guide. The Airport Rail station is accessible via the Skytrain, which connects all terminals. The Skytrain operates daily from approximately 6 AM to midnight, every 5-10 minutes, and is free to use.
Directions:
- From Terminal 3: After exiting customs, exit through the doors on your left, follow the signs to the Skytrain, and use the escalators or elevators to reach it.
- From Terminal 2F: After customs, follow the signs towards the Skytrain or Terminal 2E and use the escalators or elevators to access the Skytrain.
Once on the Skytrain, follow signs and announcements to reach the Airport Railway station. From there, it’s a straightforward walk to the train station.
Cab Services and Rideshare
Upon exiting the arrivals area, follow the signs to the taxi rank. It’s common for taxi representatives to approach you, but we recommend proceeding directly to the taxi rank without engaging with them. Rideshare services are available for Grab and Gojek, and in-app instructions will guide you to the designated pickup point, depending on selected service class. For reliable taxi services, head to the booth for Blue Bird or the premium Silver Bird and Golden Bird taxis. Avoid taxis that do not use meters as they may charge exorbitant rates.
For Blue Bird, Silver Bird taxis and Golden Bird airport transfers, you can also make a reservation online at Blue Bird Group or download the myBlueBird app. This app functions like other rideshare services and allows payment by credit card for both hailed and app-booked rides.
Directions (From Terminal 3):
- Exit: After clearing customs in Terminal 3, locate the exit doors on your left side. Take any of these exits and look for signs directing you towards the Skytrain and Taxi Rank. Follow the signs towards the skytrain and taxi rank.
- e-Bluebird EV Taxi Rank: As you move towards the Skytrain, you will see a Telkomsel Grapari booth where you can acquire a tourist e-SIM. Opposite the Telkomsel booth, you’ll find the e-Bluebird EV taxi rank. These taxis offer a premium, eco-friendly option and are slightly more expensive than regular taxis.
- GrabCar Premium Rank: A few steps past the e-Bluebird rank is the GrabCar Premium rank. Here, you can use the Grab app to hail a ride similar to UberBlack, which includes an additional fee.
- Premium Taxi Rank: Continue walking until you encounter signs for the “Premium Taxi Rank/Taxi Rank.” Look for a crosswalk leading to a large, sheltered sidewalk area. This is the main taxi rank. Cross the road to the taxi rank and approach a Blue Bird representative to obtain your taxi queue number.
Payment Options:
- Cash: Always a reliable option, but ensure you have local currency.
- QRIS: See the payment section about this payment method.
- Gojek, Grab, myBlueBird apps: Supports overseas credit cards, offers cashless payment, and provides traceable rides. Using the app or ridesharing apps also helps in getting a fair estimate of your fare.
For a seamless and secure trip, preparing cash in advance or using the Gojek, Grab and myBlueBird app for cashless transactions is recommended.
Payments in Indonesia
QRIS
The Quick Response Indonesia Standard (QRIS) is a payment system promoted by the Indonesian Central Bank and has become widespread across the country. Over 40 million merchants now accept QRIS, ranging from major retail chains to small street vendors. It is quickly becoming the preferred method of payment, with some merchants exclusively accepting QRIS for digital transactions.
For foreign visitors, using QRIS can be challenging as it does not directly integrate with common international payment methods like credit or debit cards. However, there are efforts to expand QR code payment compatibility with Asian countries. If you have banking and e-Wallet apps from Singapore, Malaysia, Thailand, or Japan, you might be able to make payments via QRIS. Check with your bank or payment app to confirm QRIS support.
For those from other countries, consider using local e-Wallet apps such as DANA, Gojek’s GoPay app, or the Malaysian Touch N’ Go eWallet. These applications allow you to link your foreign credit or debit cards to make QRIS payments. This can be particularly useful in places that do not accept cards.
Most IWAG dealers should by now be able to support QRIS payments, including those from overseas payment and bank apps. We recommend that you have some spare cash ready in case it doesn’t work on particular dealers.
Debit, Credit, and Contactless Payments in Indonesia
Indonesia hosts over 2 million merchants who accept various forms of card payments, including debit, credit, and contactless methods. Visa, MasterCard, and JCB are the most commonly accepted international cards. American Express (AMEX) and UnionPay are also accepted but are less prevalent.
Expect to use your card in larger, formal establishments such as hotels, restaurants, supermarkets, gas stations, major coffee shops, and on online e-hailing applications such as Grab, Gojek, and myBlueBird. Smaller vendors like street food stalls, hawker centers, and local markets typically do not accept cards.
In Indonesia, EMV chip technology is standard, requiring you to either dip your chip card or use contactless payment. Magnetic stripe transactions may be rejected by some point of sale (POS) systems. It is advisable to set up a PIN for transaction approval, although some POS machines might only require a signature, especially for cards issued abroad.
While dipping the chip card remains the most common payment method, contactless payments are gaining traction. To use this feature, ask the merchant for “contactless” or “tap to pay.” If the merchant is familiar, they’ll enable this on their POS device, which can also accept debit and credit cards in all kinds of standard mobile wallets (Apple Pay, Google Pay, Samsung Pay, Garmin Pay, etc). Note that while this method is becoming more known, it’s still not widespread, and some clerks might be unfamiliar with it.
Be aware that some merchants may not allow card payments below a certain amount. Also, consider potential fees charged by your bank for international transactions and inform your bank of your travel plans to avoid any issues with card use.
Note Our Dealers Den vendors at the convention likely will not accept card payments. We recommend carrying some cash or use QRIS-compatible applications for purchases in these areas.
Cash Payments and ATMs
Cash is often the simplest payment method for many foreigners. ATMs are plentiful and usually support Visa, MasterCard, and JCB cards, with some also accepting American Express, UnionPay, and MEPS cards. Always shield your PIN entry for security.
Be mindful of potential fees when using ATMs, such as overseas surcharges or cash advance fees, which vary by bank. Additionally, your bank may impose switching network fees (associated with your card network like Visa or MasterCard). Indonesian ATMs typically charge between IDR 20.000 and IDR 75.000 for withdrawals with foreign cards, depending on the bank.
Most ATMs in Indonesia dispense a single denomination per machine, either IDR 50.000 or IDR 100.000, which is usually displayed near the machine. You can withdraw up to 25 banknotes per transaction. Machines that combine deposit and withdrawal functions typically dispense the highest denomination available.
Transit Payments
Most urban transit systems in Jakarta require an electronic payment method. The most universal option is a transit card, referred to as an Electronic Money card (Kartu Uang Elektronik), available from card vending machines at transit locations.
Note that the MRT Jakarta also sells single-trip tickets at station vending machines, payable by cash, debit/credit card, or QRIS. Additionally, QRIS Tap (NFC-based QRIS via smartphone) is now accepted on MRT Jakarta, TransJakarta, LRT Jakarta, LRT Jabodebek, and KRL Commuter Line. Check with your banking app or e-wallet for support.
To obtain a Kartu Uang Elektronik, visit a vending machine at BRT bus stops, MRT stations, LRT stations, or commuter train stations. Cards cost IDR 30.000, which includes a card fee and IDR 15.000 of pre-loaded balance. Ensure you maintain a balance of at least IDR 14.000 to travel, though we recommend keeping between IDR 30.000 and IDR 100.000 on your card.
You can top up your Kartu Uang Elektronik at transit stations with vending machines or at convenience stores like Indomaret and Alfamart. During conventions, you might also ask volunteers, staff, or local friends to help top up your card using their bank apps.
Keep your Kartu Uang Elektronik secure, as lost cards cannot be recovered and are not easily refundable. Consider keeping the card as a souvenir for your next visit (they do not expire) or pass it on to a local friend.
Mobile Connectivity in Indonesia
When visiting Indonesia, you have several options for mobile connectivity including local tourist eSIMs, roaming services via your preferred eSIM partner, or your home carrier’s roaming plans. It’s important to note that regular eSIMs or physical SIM cards intended for Indonesian residents are not accessible without registering your device with Indonesian Customs, which involves additional fees. For convenience and to avoid these regulations, sticking with tourist-specific SIMs or international roaming options is recommended.
4G coverage is extensive in most urban areas of Indonesia, while 5G is available in some major cities.
Tourist SIMs
The easiest way to stay connected is to purchase a tourist eSIM or physical SIM card from Telkomsel, the state-owned telecom provider in Indonesia. Tourist SIM plans start at IDR 150.000 for 25GB of data valid for 30 days. These SIMs are payable by cash in-store and are one-time use. They cannot be renewed or extended.

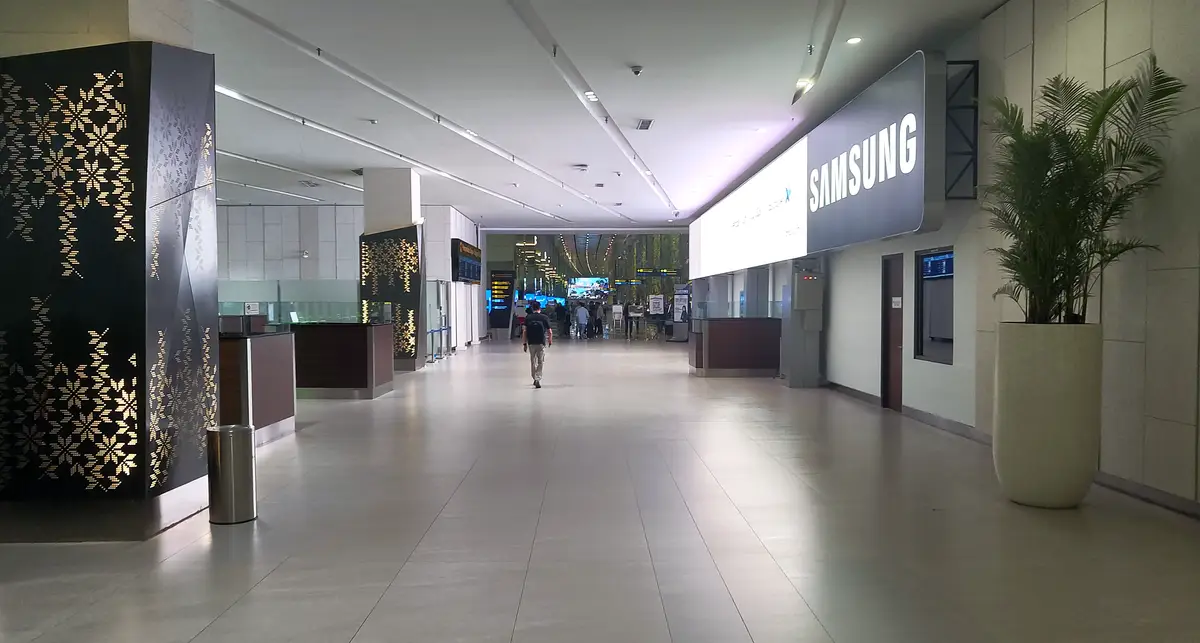
Tourist SIM counters on Terminal 3 of Soekarno-Hatta airport. Photo by: Newton
Although you can reserve your SIM or eSIM online, activation can only occur once you’ve entered Indonesia. This process requires you to provide a scan of your passport and the IMEI codes of your phone, allowing Telkomsel to register your device and bypass the usual customs requirements.
Pickup Locations for Tourist SIMs
The Telkomsel Grapari Stall is available at Terminal 3 Arrivals landside, after exiting customs. You will find the Telkomsel GraPARI stand in the covered area near the entrance to the inter-terminal shuttle train (Skytrain)
The stall is open every day from 7AM to 9PM.
Assuming that you have landed in Terminal 3 of Soekarno Hatta, you will enter the landside after exiting customs by having exit doors to your left. Take any of those exits and follow the signs to the Skytrain and Taxi Rank. Follow the signs until you see the escalators that lead up to the Skytrain. You will find the Telkomsel Grapari booth adjacent to the escalators.
In Jakarta City:
- GraPARI Central Park Mall
- GraPARI Sarinah Mall
- GraPARI Wisma Alia
- GraPARI Kota Kasablanka
You can find eSIM options on the Telkomsel eSIM page.
Roaming
For those preferring to use roaming services, here are a few options:
Power Plugs
The power plugs in Indonesia are Type F standard European plugs. Power is delivered at a standard 220-230V 60Hz. Plan ahead with power port adapters if you need it.
If you are staying at the hotel, the hotel rooms come with at least one universal power port. We still recommend you to bring a universal power adapter should you find yourself needing a quick boost while out and about.
Further Reading
While we’ve placed most of the basics to get you where you need safely, feel free to read through Wikivoyage, with extremely detailed information that allows you to continue learning about our home city and the colloqualisms you’ll encounter.